Translate:
downloads
Coamaster Flex for Handheld Measurements (pdf)
DownloadCoatmaster Inline for Automatic Single-Spot Continuous Measurement (pdf)
DownloadCoatMaster 3D Inline for Full Area Surface Thickness Mapping (pdf)
DownloadCoatmaster 3D Modular for Full Area Surface Thickness Mapping of Large Parts (pdf)
DownloadCoatmaster Atline for Offline Thickness Mapping (pdf)
DownloadNon Contact Film Thickness Measuring Devices & Systems
coatmaster Flex
- Most powerful handheld non-contact coating thickness device in industry.
- Can read moving parts - not sensitive to part distance or angle
- Direct-connection and WiFi/Cloud options
- Desktop and Browser interface
- Robust and Reliable
- Can be integrated into the coating line control system

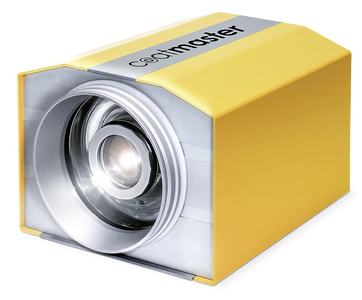
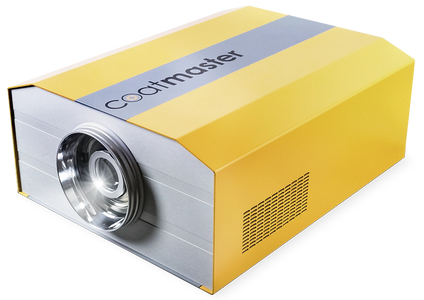
coatmaster inline: continuous online point thickness mapping

coatmaster atline: offline measurement of parts

coatmaster 3D: full surface thickness mapping
Inline / Atline / 3D Products
- Non-contact layer thickness measurement
- Fast measurement procedure (typically <100 ms)
- Small measuring head optimized for robot assembly
- Easy integration into existing plants
- Can read off angle up to 70 degrees
- Large working distance
- Highest repetition accuracy
- Developed for industrial use
- Robust and reliable
- No harmful emissions
- TCP/IP protocol
- Desktop and web browser interface
product enhancements
Calibration Standards
Calibration Standards
Calibration Standards

Based on your production parts we offer you standards for the calibration of your coatmaster. The calibration standards are produced in cooperation with renowned test and calibration laboratories. Coating thickness certificates prove that coatmaster measurements can be traced back to calibration standards.
1-Point Marker
Calibration Standards
Calibration Standards

The 1-point marker facilitates the positioning of the measuring point on small objects or narrow measuring points. In comparison, the multi-point marker is suitable for displaying the measuring range on flat components because it is also clearly visible at a greater distance. Measurements on component edges, grooves and small objects are a typical field of application.
Beam Deflection
Beam Deflection
Beam Deflection

Thanks to the beam deflection, the coatmaster is also suitable for measuring layer thicknesses within bushes from 3 cm diameter. For this purpose, the beam path is guided to the desired position via a measuring optics. Beam deflection is suitable for testing of internally coated aluminium cans, cylinder liners or tubes.
Concentrator
Beam Deflection
Beam Deflection

By means of a computer-optimized mirror optics the energy per measuring process can be reduced. The mirror optics focuses the light pulse on the surface area to be measured - without reducing the repeatability of the measurement. This increases the possible measuring frequency up to 2 Hz and prolongs the life of the light source. This principle is used for the measurement of bearing shells.
Services

Automation Integration
- Easily integrated into robots and other automation
- Enables closed-loop feedback to spraying parameter immediately after application
- Built-in quality control interface
- Customizable screens film thickness
Charleston, SC - Copyright © 2018 Sapience Automation (TM) - All Rights Reserved.
Cookie Policy
This website uses cookies. By continuing to use this site, you accept our use of cookies.